Having seen these advertised on Etsy and NOTHS at surprisingly high prices I figured it couldn’t be that difficult to make my own… and I was right! They make fab presents if you’re stuck for ideas too – I’ve made them as engagement and wedding gifts for friends and they went down a storm.
You will need:
- Maps – I raided the car and removed all the old road maps that had been taking up valuable boot space! These have a slightly vintage look as they’ve discoloured over time. For a more modern appearance you can always print the location sections you need from a map website (Britain and global) This looks especially good in black and white, and you can always mark a special location in colour to make it stand out
- Frame – I needed a bespoke size for this project, but I would recommend buying the frame first and fitting your map design within
- Card / thick backing paper (you may find that your frame already contains a suitable piece of paper)
And these tools:
- A ruler*
- A sharp pencil and rubber*
- Glue stick*
- Scissors or craft knife* (use what you are most comfortable with)
- A round object to draw around – I used a sherry glass
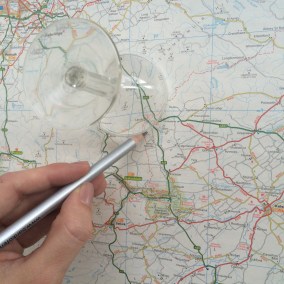
Choose your locations – place the round object over them and draw around it with the pencil. N.B. I don’t use a compass for this to avoid leaving a puncture mark on the map.
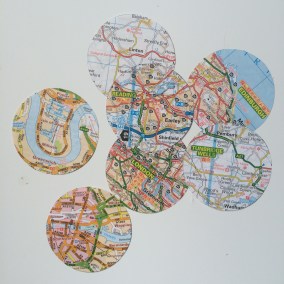
Cut the map pieces out, slowly – it’s surprisingly hard to cut a perfect circle!
Remove any remaining pencil marks with a rubber.
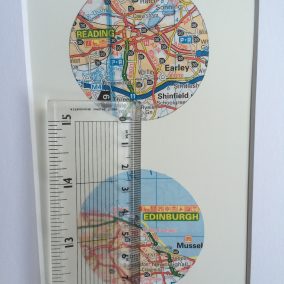
Arrange all your pieces on the backing sheet in your desired pattern/design. Use the ruler to ensure they are evenly spaced (unless you’re just going freestyle!) and secure in place with the glue. The map paper I used was quite thin, so I only used a very small dab of glue to avoid bumps showing through from behind.
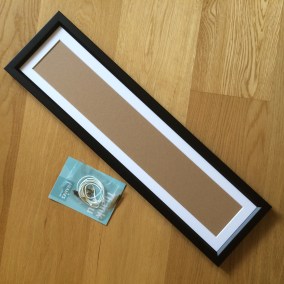
Mount within your frame and hang/lean as preferred.
