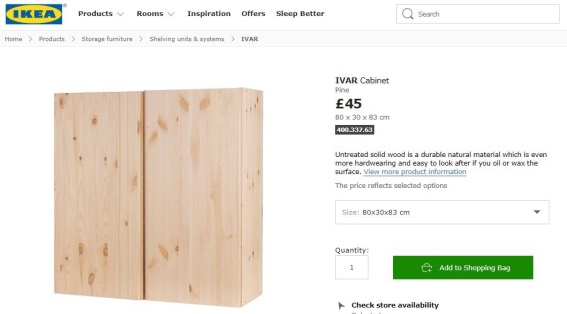
I think that the Ikea IVAR range is the most versatile to customise, especially as it’s so well priced – with the units themselves being cheap you can spend the money you saved on the personalisation!
I highly recommend doing some research before you start a project like this, as Pinterest, Instagram and Google will all throw up hundreds of images to inspire you.
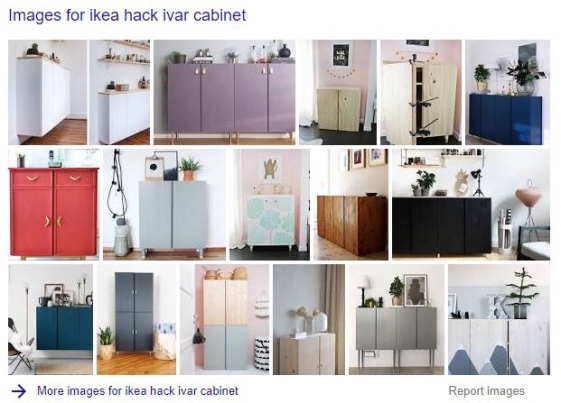
Key considerations:
- What will you be using the cabinet for?
- What room will it be in?
Your answers to these questions are most important, as the frequency of use and location will decide the type of finish that is required. For instance, if you’re intending to put it in the hallway to house the family’s shoe collection then it will need to withstand more wear-and-tear than if it were used in a spare bedroom to house extra bedding and towels for guests.
Your next decisions will be all about style, so I recommend collating your earlier design research, and start sketching out your ideas onto paper. Be as creative as you dare! You might want to think about the following:
- Will you mount the cabinet on the wall, or add legs to lift it off the floor instead?
- Do you want to put on handles?
- Are you going to use paint? If so, do you have the right type of paint and/or finishing treatment?
- Decoupage or wallpaper on the inside/outside? Do you have the right equipment for this?
- Do you intend to cut into any panels or change the overall construction? If yes, it’s always a good idea to draw out your plans with exact measurements before dismantling or cutting into any of the pieces, as once you’ve committed there is no going back!
I used the following additional materials:
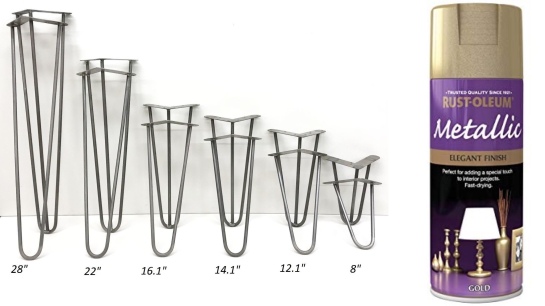
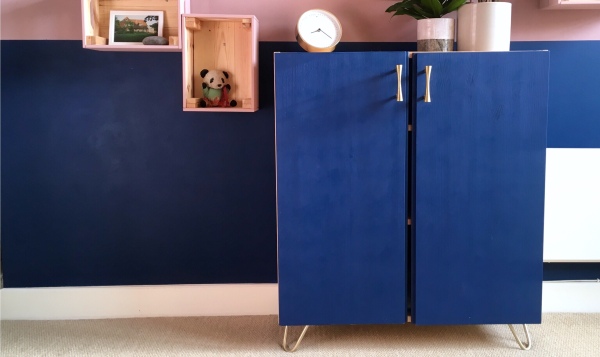
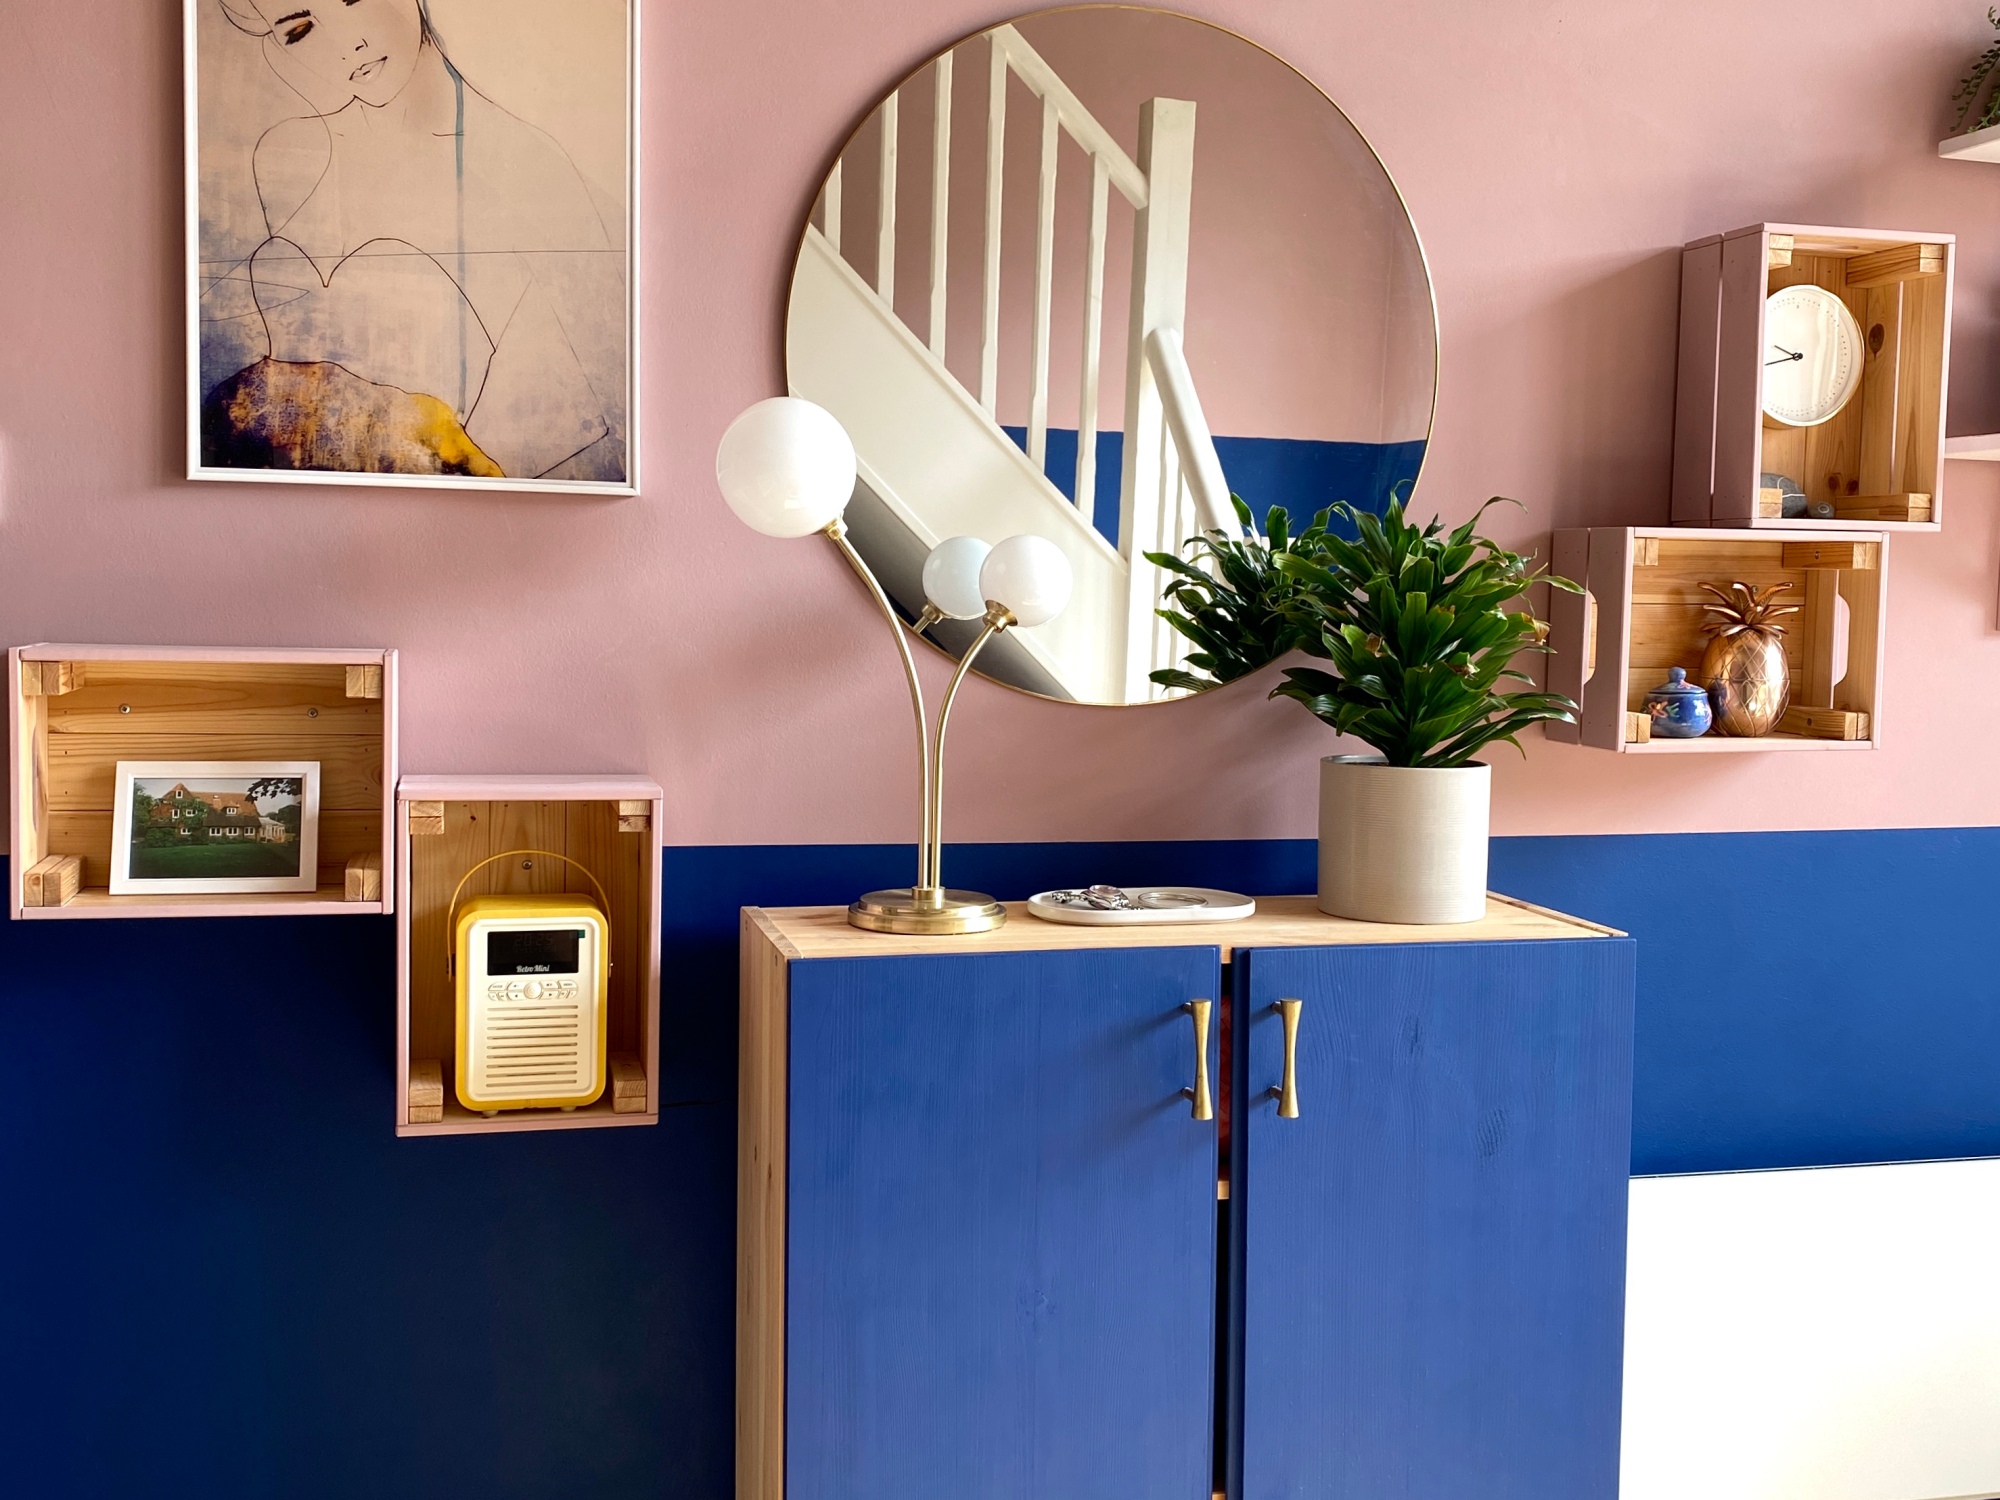
Metal hairpin legs / eBay / 2 rod, 4 inches, 10mm thickness
Gold spray paint / Rustoleum / Elegant Metallic Gold 400ml
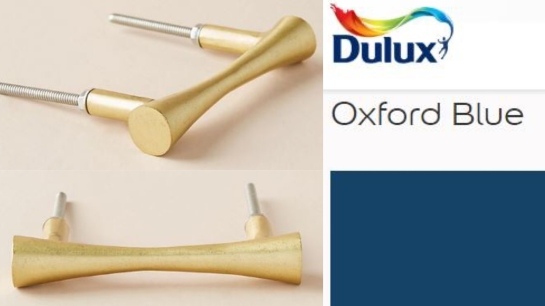
Pair of gold handles / from a selection available at Anthropologie
Dulux matt emulsion / Oxford Blue
Instructions:
- Assemble the cabinet. This is very straightforward (even by Ikea’s standards!) and will go even quicker if you use an electric screwdriver head on your hand drill.
- Spray-paint the hairpin legs in gold. Make sure that you are in a well ventilated area, spraying at least two coats on each leg.
- Attach the legs to the cabinet. Mark out in pencil where the screws will need to go, and drill securely into place. Be careful to use screws of an appropriate length and thickness – you don’t want their sharp ends poking through into the inside of the cabinet!
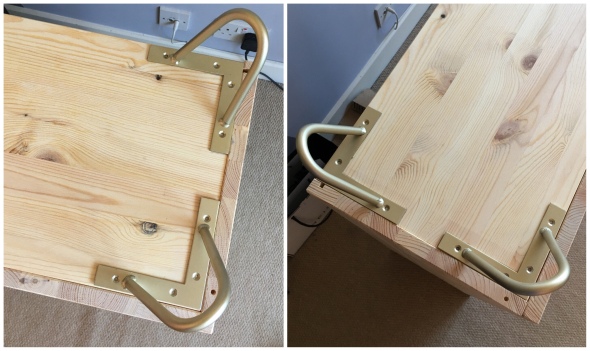
Set the legs flush with the corners of the cabinet. If you set them too far inwards then there is a risk that the cabinet will not be balanced and fall forwards. - Mark out where to put the handles, and drill holes for the metal rods to fit snugly – there is no room for error here so check and check again that they are level and evenly spaced.

Top tip: If your handles are a little wonky even after careful measuring, it may be due to the hang of the doors. You can adjust this by loosening the tightness of the hinges. - Paint the doors. I just used a standard wall emulsion for this, the same as I used on the wall behind. I did not use a primer and I didn’t treat it afterwards, and so far it has remained in perfect condition. However, if it were in a more high-traffic area of the house I would have painted a topcoat on for some extra durability.
2 thoughts on “Customise: Ikea Hack / IVAR Cabinet”